it has been six months
since last I wrote on the pages of this blog...
wow
if you follow this blog's facebook page, you know that I have promised to post a new FREE pattern today...
and here it is...
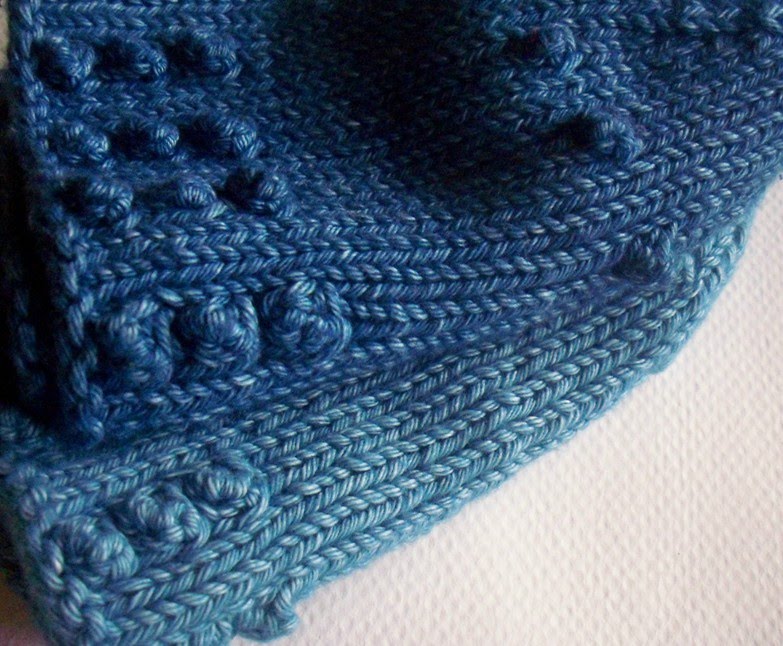
pixie love...

Pixie hats are wonderful!...Their jaunty little pointed crowns are always adorable on babies and young children. The beauty is that you can make a pixie hat in the same time it takes to make a rolled-brim beanie! The trick is to elongate the crown decreases.
I offer this pattern for free, but I do hope that if you use it (and even if you don't), you will make a donation to save the children or any other hurricane sandy relief fund...thank you!

you will need:
- one skein of worsted wool
- a couple yards of the same yarn in contrast colors (optional)
- 1-16" circular in size US 6/4.0mm (or whatever size you need to obtain gauge)
- 1 set of double pointed needles in the same size
- tapestry needle
gauge is 5 stitches per inch
note: you can make this hat at almost any gauge...just measure the head you want to fit, subtract an inch, then divide that number by your gauge-per-inch...
size is for an infant (baby), but this hat is very easy to size up (or down for preemie).
directions:
Cast 70 (77) stitches on to your circular needle (I use the long-tail method). Join work (without twisting, of course) and knit, knit, knit for approximately 4 (5) inches.
begin crown decreases:
Round 1: Knit 8 (9), knit 2 together; repeat to end of round... 63 (70) stitches remain.
Rounds 2 & 3: Knit.
Round 4: Knit 7 (8), knit 2 together; repeat to end...56 (63) stitches remain.
Round 5 & 6: Knit.
Round 7: Knit 6 (7), knit 2 together; repeat to end...49 (56) stitches remain.
--change to double-pointed needles--
Continue decreasing this way, seven stitches every third round, until 7 stitches remain on the needles.
Knit 2 together three times, knit 1...4 stitches remain.
Knit these 4 stitches in i-cord (stitch diva has a good tutorial here) for an inch-or-two. With your tapestry needle, pull yarn through the 4 stitches and thread to the inside of the i-cord. Leave cord as is, knot it, or add a "lazy knitter's tassel"(below).
lazy knitter's tassel:
Thread a darning needle with several strands of yarn, each about 12" long. Pull through the end of the i-cord stem halfway, then knot. Clip ends.

et voilà !!!
as you see, there are endless possible variations to these simple hats...can't wait to see what YOU come up with!

this pattern has not been test-knit (except by me)...please let me know if you find any mistakes! happy knitting!